

- Your basket is empty.
In the world of miniature painting photography, details matter a lot. Knowing how to take great photos of your miniatures opens up a world full of possibilities. With the right tools and skills, even the smallest figure can look amazing. Creating a guide on how to photograph miniatures is key to showing off your art.
Using macro photography helps highlight the tiny details of your work1. Imagine using light to bring out colors and shadows on your miniatures1. A simple setup with two bright lights at a 45-degree angle can make a big difference1.
Think about the background too. A simple light or dark setting can make your miniatures stand out1. You might also try focus stacking to get clear images1. Or, use light to create dramatic effects and tell a story1. If you want more, you can add special effects to make your photos even more impressive1.
Learning to photograph miniatures starts with telling a story, one photo at a time. Whether you’re looking for the best camera or improving your lighting skills, you’re on the right path. This is where your journey to perfecting your miniature photos begins.
The Art of Composition in Miniature Photography
When taking pictures of 3D printed miniatures, make sure they are the main focus. Every small detail matters in your camera settings. Use a simple background in light or dark colors to highlight your miniatures.
This makes your subject stand out and keeps the background from stealing the show. Focus on making your photos stand out with careful focus2.
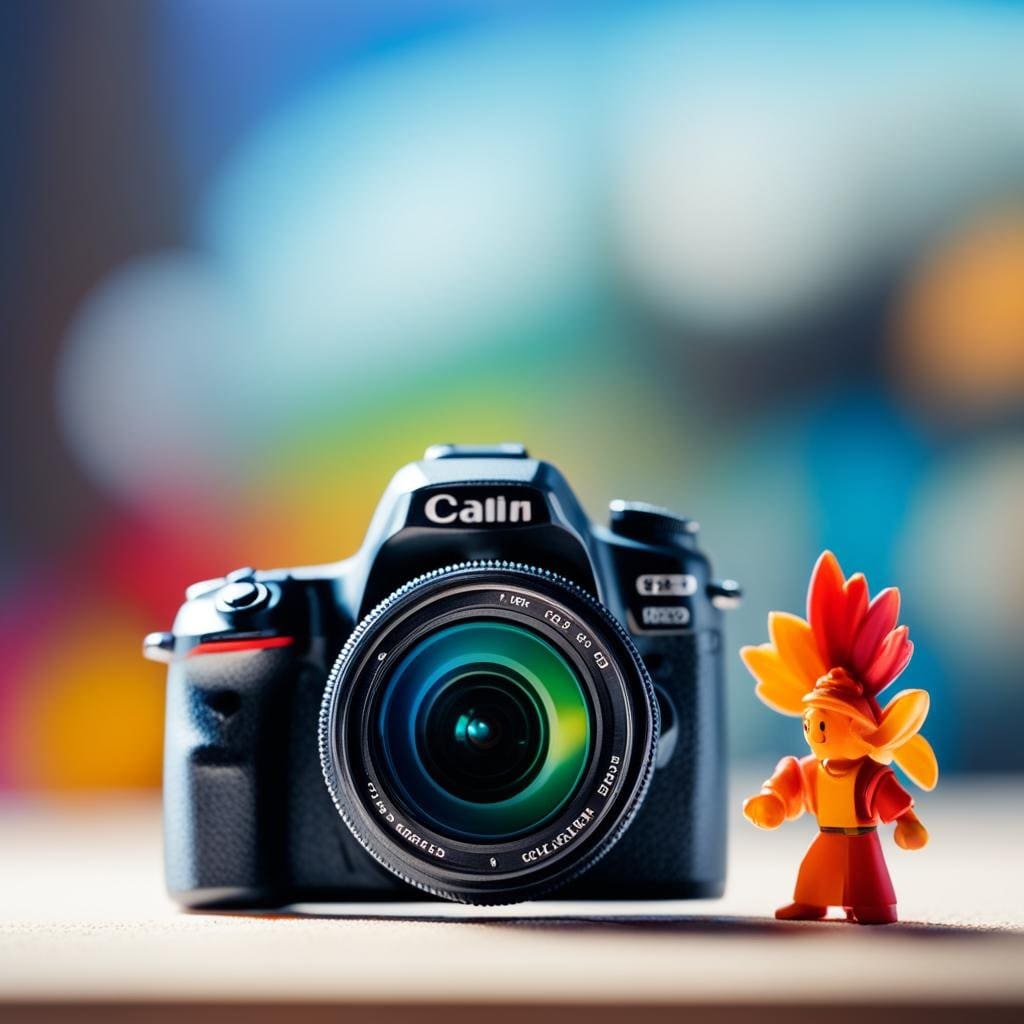
Composition is more than just the background and focus. How you pose and arrange your miniatures adds creativity. Creative posing can make your photos more appealing2. Adding real-world objects can make your scenes more interesting, blending fantasy with reality3.
If you’re new to this, learn about camera settings for miniatures. Use slower shutter speeds for enough light and sharp details3. Adjust your aperture to keep your miniature in focus3. Taking manual control over your camera can improve your photos3.
Practice with different lighting setups to improve your photos. Understanding lighting can make your photos stand out2. Good lighting and a clean background are key for great results4.
With attention to detail and a willingness to try new things, you can turn simple shots into art. This can make your 3D printed miniature photos look professional.
Mastering Miniature Photography Lighting
Learning the right ways to light your miniatures can make your photos look amazing. When you’re learning to take pictures of miniatures, think about how well the light shows off your subject. This is key to making your photos stand out.

Start by trying out different camera settings to control the light. Soft, diffused light is great for miniatures because it reduces shadows and shows off details like action figures or model cars5. Using a softbox or light tent spreads the light evenly, making your miniatures look smooth and detailed5.
Lighting your miniatures is more than just placing a light; you also need to adjust your camera settings. Use a high aperture (f/11 to f/22) to keep everything sharp, making your miniatures pop6. Balance this with a slower shutter speed if you’re using a low ISO to keep your image clear6.
| Equipment | Use | Impact on Lighting |
|---|---|---|
| Tripod | Stability during long exposures | Enables use of longer shutter speeds without blur6 |
| Macro Lenses | Close-up shots | Focuses on intricate details with enhanced clarity5 |
| Remote Shutter Release | Prevents camera shake | Preserves sharpness in low light conditions5 |
| Reflector | Directs light to dark areas | Balances the lighting by illuminating shadowy parts5 |
Also, think about the natural light and how it works with your setup. Natural light can be a big help, especially when mixed with artificial light to fill shadows or highlight miniatures5.
In the end, getting good at lighting for miniature photography is about using the right gear and settings, like soft light and high apertures. It also means paying attention to how light affects your miniatures to bring out their best colors and textures. By using these tips, you’ll get amazing photos that show off your miniatures in a professional way.
Essential Camera Settings for Capturing Miniatures
Choosing the best camera for miniature photography is key. It could be a DSLR, a Samsung mirrorless, or even a smartphone. Knowing how to adjust the camera settings can greatly improve your photos, even if you don’t have the latest gear.
Macro mode is crucial for showing off the miniatures’ details and paintwork7. With manual settings, like adjusting the ISO for the lighting, you can make sure every detail is clear8. Try using a smaller aperture, like f20, to keep more of your scene in focus and highlight the details of miniature painting photography9.
Lighting is very important for miniatures. Use at least two or three light sources, and consider daylight bulbs for natural colors in your photos9. A diffuser or softbox lights can soften shadows and spread light evenly7. This makes sure your miniatures are well-lit without losing details to over or underexposure.
How you set up your shot matters too. Put your miniature on a flat surface and use a big backdrop that curves up. This helps avoid distractions and keeps focus on your subject9. Using the rule of thirds can make your photos more engaging, drawing attention to important parts like the eyes or accessories7.
- Always adjust exposure settings manually, as automated settings often struggle with the fine details in miniatures.
- Use tripods or secure platforms to avoid camera shake, especially in low light or with long exposures7.
- Editing your photos can also help. Simple changes like adjusting exposure, contrast, and color balance can make your miniatures look more realistic7.
While the best camera for miniatures is important, using the camera settings well is just as important. Try different setups and make manual changes to get the perfect shot. With practice and adjustments, your photos will become detailed and lifelike.
How to Photograph Your Miniatures with Smartphones
Turning your smartphone into a powerful tool for taking photos of 3D printed miniatures is easy. With a few simple changes to your phone’s settings and some affordable accessories, you can improve your miniature photography. Let’s look at the steps and techniques to capture your creations in great detail.
First, make sure your phone’s camera is in manual or pro mode10. This lets you control the ISO, shutter speed, and exposure. These are key for sharp and bright photos. Adjust your shutter speed to fix light flickering, a problem when taking photos of miniatures10. Also, set the white balance manually to match your lighting, making sure your miniatures look right10.
It’s also smart to use a camera app like Lightroom for more control11. Apps like these let you adjust your phone’s camera settings more. With practice and checking your photos, you’ll see a big improvement10.
For accessories, a good lighting setup can make a big difference. Think about getting portable gooseneck LED lights11. They’re not expensive and give the focused lighting needed for miniatures. With the right setup, even a simple background works well, but for dark scenes, use pro mode for the best results10.
Getting sharp focus is key. Many phones don’t have manual focus, but some apps can help10. Also, a cheap tripod keeps your phone steady for clear shots, making your photos sharper12.
Finally, check out editing apps made for photos. Tools like Pixelmator or GIMP let you improve your photos after taking them. They add features that make your miniatures look professional12.
By following these tips and using the right tools, taking photos of 3D printed miniatures with your smartphone becomes fun and easy. So, start trying new things today and see your skills grow!
Creating Depth of Field for Life-Like Miniature Scenes
To master miniature painting photography, it’s key to know about depth of field. By using the right aperture settings, you can make your miniatures look real. A good setup for your photo shoot brings out the best in your subject and tells a story.
Choosing the right camera settings is crucial for depth of field in miniatures. A wide aperture (low f-number) lets you focus on part of your scene. This makes the background and foreground soft, adding depth and perspective13.
Using manual focus and a tripod helps keep your camera steady for these shots13. For sharp details in every part of your scene, try focus stacking. This method takes several photos with different focus points and blends them into one sharp image.
- Use lower f-numbers for a narrower depth of field.
- Stabilize shots using a tripod13.
- Consider focus stacking for enhanced sharpness.
Changing your photo setup to try different angles can change how your photos look. Shooting from below can make your miniatures seem bigger, adding an interesting twist to your story14.
| Component | Function in Miniature Photography |
|---|---|
| Aperture | Controls the depth of field, impacting focus delineation |
| Manual Focus | Allows for precise control over the focus area |
| Focus Stacking | Combines multiple images for comprehensive sharpness |
| Camera Stability | Essential for maintaining image sharpness during long exposures |
Trying out these methods in your miniature photography can really improve your images. Whether you’re shooting indoors or outside, each setting offers new ways to show off your miniatures13.
Choosing a Camera: The Best Options for Miniature Photography
When you want to start with miniature photography, picking the right camera is key. You’ll find cameras for every budget, from high-end DSLRs to compact cameras and smartphones. The best one for you depends on your needs and budget.
For top-notch quality, go for a DSLR with a 12-megapixel sensor and a macro lens15. A camera like the Canon G12 gives you great control over settings. This means you can capture every detail clearly, using settings like F8 and ISO 10015. These cameras are great for professional results.
If you’re on a budget or just starting, consider compact DSLRs or mirrorless cameras1516. They’re easy to use and still let you control settings important for miniatures. The Sony RX100 II and the Sony A6000 are great choices, offering great photos and manual focus for sharp details16.
Smartphones have also become good options for photography. With the right setup and techniques, they can take amazing photos1517. You can use apps and settings to improve your shots, making your phone a powerful tool1617.
Don’t forget about accessories that can make your photos better. Tools like tripods and LED lights are key for great shots15. They help you get the best results, whether you’re in a studio or at home.
Knowing your options and choosing the right gear will help you capture your miniatures beautifully. This makes your photography journey as fulfilling as making your miniatures.
The Perfect Miniature Photo Shoot Setup
Creating the perfect setup for a miniature photo shoot means paying attention to the camera, lighting, and background. If you’re into photographing 3d printed miniatures, pick a camera that matches your skills and the quality you want. A DSLR camera on a tripod is a great choice for sharp, steady photos18.
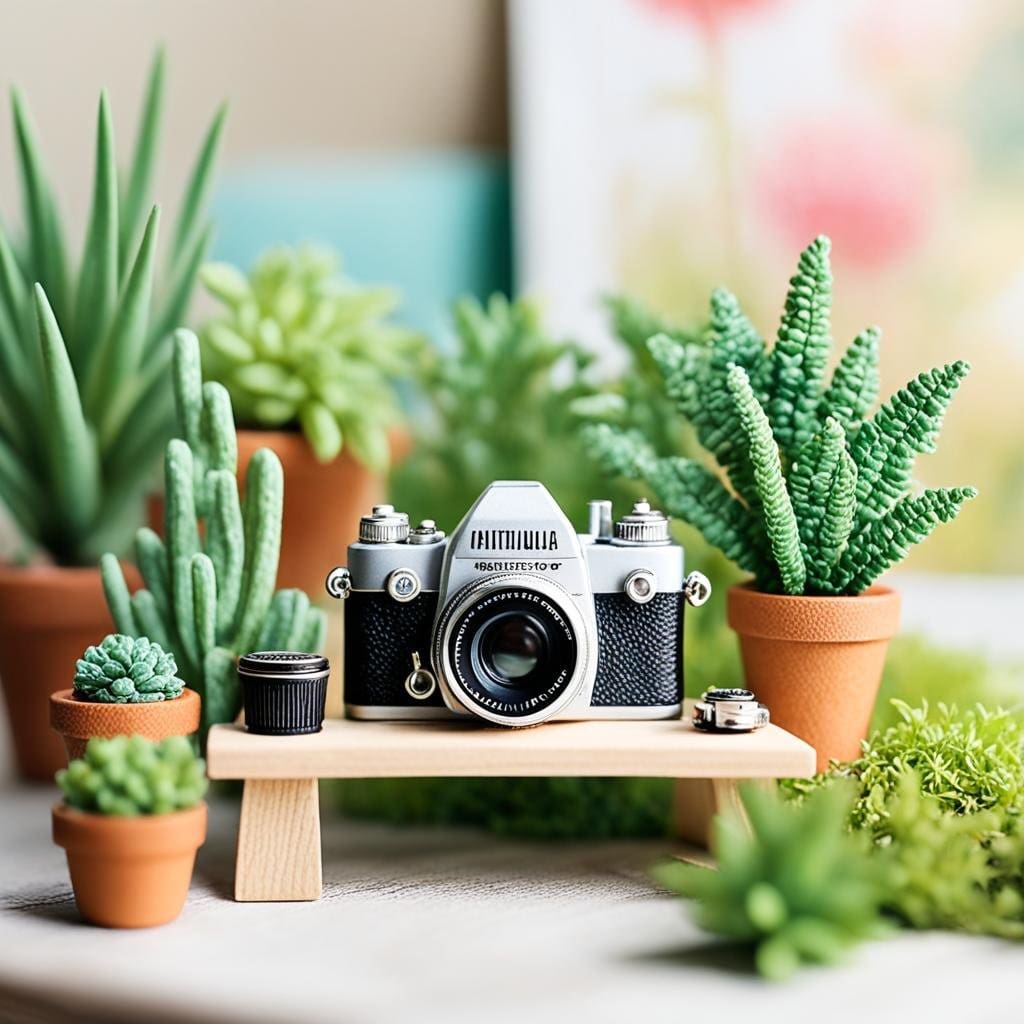
Choosing the right backdrop is key for miniature photography lighting. Use non-reflective backgrounds like the Horus Heresy Age of Darkness set box lid or a simple rolling mat to improve focus and reduce distractions17. For more engaging shots, think about building a diorama with textures like grass or pebbles that fit the scene19.
Lighting is crucial for great mini photos. Adjustable lightboxes, like the Travor Photo Box with LED bars17, let you control the light for sharp, detailed shots. Also, use your camera from a distance with zoom to focus on the miniature and blur the background, perfecting your miniature photo shoot setup.
Smartphone users can also get great results with a setup like a Samsung Z Flip 3 and a simple LED bar lamp17. Make sure to manage external lights and adjust aperture settings to focus on the miniatures18.
The best setup for miniature photography combines quality gear with personal style. Whether you stick with a standard setup or try different backgrounds and lights, aim to make the miniatures look their best.
Advanced Lighting Strategies for Miniature Photography
Improving your miniature photography lighting can turn simple shots into stunning art. To get better at capturing your miniatures, it’s key to use advanced lighting techniques. Whether you’re using a DSLR or smartphone, knowing how light interacts with your miniatures can make your photos look amazing.
Start by trying out different light sources. For instance, halogen shoplights with twin-head fixtures give balanced light from many angles. They’re great for getting rid of shadows and showing off your miniatures’ textures20. Also, consider light boxes for controlled lighting. You can find them for just 10 to 15 USD on eBay21.
Choosing the right macro lens is important for your camera settings. If you have a DSLR or mirrorless camera, go for a dedicated macro lens for top-notch images. But if you’re on a budget, clip-on macro lenses for smartphones work well too21. These lenses help you capture close-up shots clearly, avoiding blurry images20.
Make your miniature scenes pop with creative backdrops. Simple, plain-colored construction paper can give a professional look20. For something more elaborate, try using miniature dioramas or professional photography backdrops21.
You can change the mood of your miniatures with lighting. Techniques like rim lighting create a halo effect, while colored LED lighting arms let you control color and light placement. For a sunset look, use orange cellophane paper on your lights for a big impact22.
To get clear and detailed photos, use a small aperture like f/8 or higher. This is great for focusing on different parts of your miniature, especially for detailed toy figures22.
Editing is crucial for enhancing your miniature photos. Use Photoshop LE for basic edits or Adobe Lightroom for more advanced tools. The right software can make your images look professional2021.
The secret to great miniature photography lighting is not just about the equipment. It’s about how you use light to tell a story. Try different angles, experiment with depth of field, and share your work to get feedback and improve.
Incorporating Effects for Dynamic Miniature Photos
In the world of miniature photography, especially with 3D printed miniatures, the key is combining techniques and elements well. Whether you’re setting up a photo shoot or looking for tips, adding effects can make your photos stand out.
Start with the environment. Use materials like static grass and resin for water features to make your scene look real23. LED lights can change the time of day or highlight parts of your miniatures, turning a photo into a story23.
For a cinematic look, try tilt-shift photography. This method creates a shallow depth of field. Now, many editing tools offer tilt-shift effects, making it easy to achieve this look without expensive gear24.
During your shoot, think about adding smoke or mirrors for atmosphere. Use advanced lighting like backlighting or color gels for dramatic images.
3D printing technology is key in enhancing miniature gaming. For example, resin bits like muzzle flashes add action to miniatures, improving the photo and story25.
- Use crafted miniature features for realism23.
- Try different lighting to highlight or shadow parts of the miniature.
- Apply digital effects like tilt-shift in editing to focus on the miniature24.
- Add 3D printed props for dynamic scenes25.
These elements are key to telling stories through miniature photography. By thinking about scale, theme, and composition, you can turn a simple photo shoot into a powerful story. These tips can help you improve your skills in photographing 3D printed miniatures, making each photo tell a story.
Practical Tips for Photographing 3D Printed Miniatures
In the world of photographing 3D printed miniatures, finding the right balance between tech and art is key. Start with the basics: good lighting is crucial for clear and vibrant photos26. Improve your skills by tweaking your miniature camera settings to capture your subject’s true beauty. Make sure your camera is at the miniature’s level for a closer view, making the viewer feel like they’re part of the scene26.
For gear, a modern smartphone camera can work well with the right setup, like the LimoStudio Light Tent Kit for perfect lighting27. Use a simple backdrop to keep the focus on your 3D miniature. Even a box it came in can be a cheap yet personal choice27. With two light sources, your miniature will look sharp and professional in photos27.
Using a Nikkon 5200 camera with an AF-S Nikkor 18-55mm 1:3.5-5.6G lens gives you flexibility for different shots28. Add depth with a macro lens to show off small details and blur the background28. These easy tips can turn your 3D miniatures into stunning stories, perfect for sharing online in the best way possible273.
Source Links
- https://adaptalux.com/how-to-photograph-miniatures/
- http://artwithnelson.weebly.com/my-miniature-world.html
- https://greatbigphotographyworld.com/miniature-photography/
- http://www.mengelminiatures.com/2019/05/miniature-photography-tips-and-tricks.html
- https://www.jgrnstn.com/articles-guides/5-tips-for-mastering-miniature-photography
- https://justincoquillon.co.uk/miniature-photography/
- https://sigmariteboutique.com/blogs/news/miniature-photography-101-capturing-your-models-in-the-best-light
- https://taleofpainters.com/2016/01/tutorial-beginners-guide-to-miniature/
- https://blog.cjsutherland.co.uk/a-tutorial-on-photographing-miniatures/
- https://frontierwargaming.com/miniature-photography-with-a-phone-settings-comparis/
- https://leadadventureforum.com/index.php?topic=136132.0
- https://taleofpainters.com/2015/02/tutorial-how-to-photograph-miniatures/
- https://shotkit.com/miniature-photography/
- https://www.picmonkey.com/blog/maximize-miniature-effect
- https://www.themightybrush.com/article/how-to-photograph-miniatures/
- https://www.dpreview.com/forums/thread/4472060
- https://www.goonhammer.com/how-to-photograph-everything-a-guide-to-miniature-photography/
- https://massivevoodoo.blogspot.com/2013/09/miniature-photography-part-2-how-do-i.html
- https://www.iphotography.com/blog/miniature-photography-tutorial/
- http://www.how-to-paint-miniatures.com/miniature_collecting_taking_pictures_of_miniatures.html
- https://www.ashenquarter.com/miniature-photography-10-tips-to-capture-your-miniatures/
- https://www.canon.com.hk/en/club/article/itemDetail.do?itemId=10365
- https://www.daslia.com/the-art-of-miniature-worlds-creating-tiny-realms-through-crafts
- https://enlaps.io/us/guide/tilt-shift
- https://www.greenstuffworld.com/en/530-weapon-and-special-effects
- https://tangibleday.com/how-take-great-pictures-of-miniatures/
- https://spikeybits.com/hobby-basics/take-better-pictures-of-your-minis-with-these-products/
- https://www.beastsofwar.com/infinity/learning-photograph-miniatures/